RS Venture - Rigging the Mainsail
Rigging the Mainsail
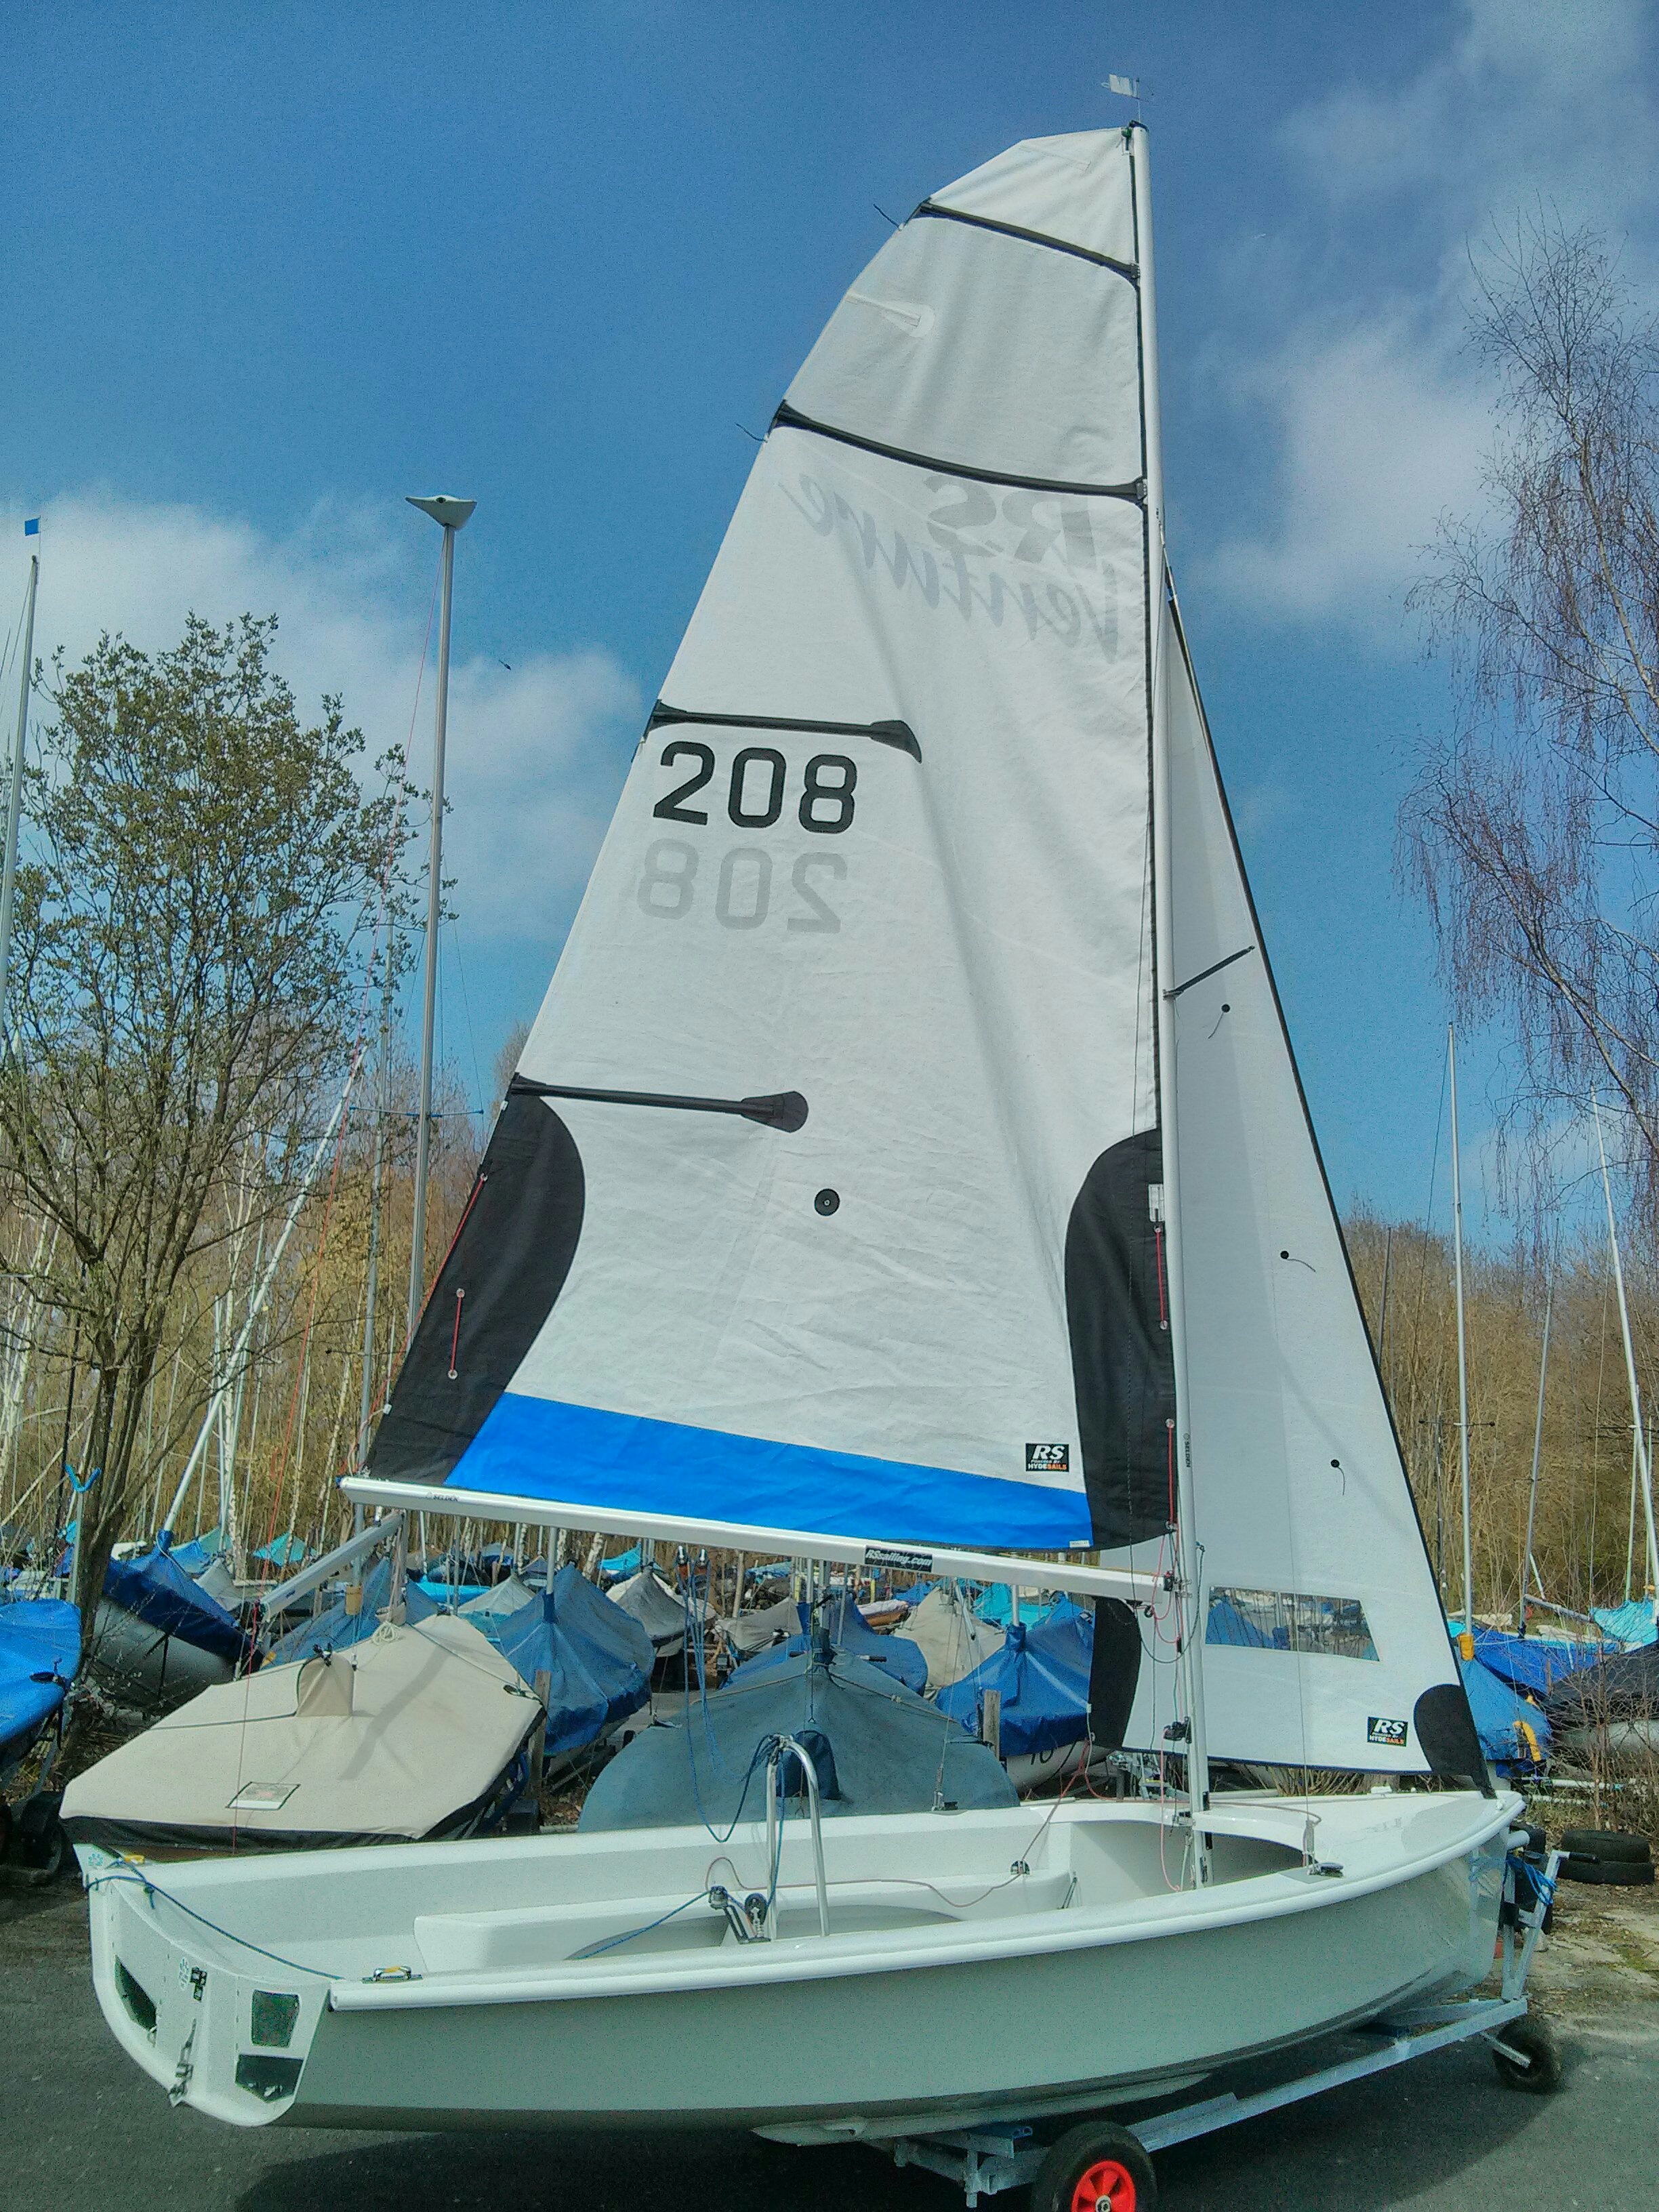
Always rig the Jib Sail before rigging the main. There are two decisions to be made before rigging the mainsail; Is a masthead float to be used? (See section on Floats for options) and should the reefing lines be rigged? The decisions on whether to rig the reefing lines or to use a masthead float needs to be taken prior to raising the mainsail.Place the rolled up mainsail into the port side of the boat with the track cord adjacent to the mast. If this is the first time of rigging read ahead to the section on Reefing
It is useful to have an assistant help to feed the mainsail into the mast track whilst the mainsail is being hoisted (together with the float if used). The mainsail needs to be fed straight into the mast track - an assistant keeping the sail luff in alignment with the track will make pulling up the sail easier and importantly will avoid undue wear or tear damage to the sail luff binding. If the tubed mast head float is being used take care to feed both smoothly into the track avoiding any ripples that might jam the sail. Do not apply force when hoisting the mainsail, it should flow smoothly and easily. If it sticks pull the sail back a little, straighten it and resume pulling. Applying undue force is usually not successful and, worse, the sail rope and cover might be damaged making for an even more difficult hoist in future. Always step away and check that there is no rope or equipment snagging. This is particularly important if a masthead float is being used. Some PTFE lubricant applied to the mast track ahead of time is often helpful. Pull the mainsail to the very top of the mast, stepping back to look up and check it really is at the top. Cleat off the main halyard. Note that the mainsail is fitted with TWO Tack slugs. The upper slug is not used when the full sail is being hoisted and needs to be turned away from the mast track. The higher slug is only used when the main sail is to be reefed.
Thread the slug at the bottom of the mainsail into the boom track and slide it aft. Check that the front of the outhaul line (usually a black line) is uncleated and pull the slack to the rear of the boom. Take the end of the outhaul line, loop it through the mainsail clew and take it back to the rear of the boom. Insert the knot at the end of the outhaul line into the slot at the back end of the boom and snug it down securely into the slot. Finally decide whether the reefing lines should be rigged. If there is the slightest doubt then rig the lines because without the lines rigged reefing is very difficult and will take much longer afloat and is much simpler to do ashore.
Rigging the Mainsheet.
There are 3 options for rigging the mainsheet, dependent upon the weather conditions. These are illustrated (not to scale) by the 3 diagrams below. The standard system provides a 4:1 advantage and is essential for windy conditions. The medium system as the name suggests is for medium winds and a light system giving a 2:1 advantage for very light conditions. The main benefit of varying the mainsheet rigging is the greater (speedier) control that the medium and light systems provide and the ease with which the mainsail can be let out with less need to manually push it out in lighter winds.The Mainsheet Jammer is an Allen AL-A5166 fitted with a switchable ratchet block AL-A2160. The switch simply removes or applies a ratchet action to the block and its use is a matter of preference. The ratchet is certainly very helpful when cruising over distance enabling a more relaxed sail. However in variable wind conditions the use of the ratchet mechanism can result in slower release of the mainsail that is less desirable when hit by wind gusts.
The mainsheet may be fed through the block in either direction because the ratchet has a reversible switch. The mainsheet is fed into the cleat, into the ratchet block and then up to the aftmost boom block. From this point decide on which of the above rigging systems is most suitable for the expected wind strength. If when afloat the mainsheet rigging needs to be changed this can be done by turning the boat bow to wind and readjusting the mainsheet. However when doing so take care not to release the mainsheet from the aftmost boom block otherwise you will lose control of the boom making for a difficult recovery.
When the mainsheet has been rigged finish off by tying a simple granny knot at its end. The next important stage is to set the length of the mainsheet such that when the boom is fully extended it cannot strike the shrouds. Set the length by holding the boom approximately 2cm off the shrouds and insert a stopper knot adjacent to the jammer cleat. Re test to make sure that the boom cannot touch the shrouds. This setup is essential to avoid damage to the boat following a gybe in strong winds.
Finally tie a stopper knot at the very end of the mainsheet to aid the grip by the helmsman in the event of a capsize.
Rigging the Reefing Lines.
The RS Venture may be sailed perfectly well without rigging the reefing lines, however once launched it will be extremely difficult to recover the use of the reefing lines. When in the slightest doubt about weather conditions rig the reefing lines! In practice rigging the lines is a simple task and if done in the right sequence - see below - it will only add a few minutes to the rigging time. A single line needs to be rigged at both ends of the boom. This task requires the mainsail to be partially raised and the reefing lines laced into the sail.There are three vertical reefing cringles at both the Tack and Clew of the mainsail. The reefing lines should be rigged before the sail is fully hoisted (the topmost cringles will be out of reach when the sail is fully hoisted). Start by threading the rear section of the reefing line (usually coloured red). Pull out a couple of metres or so of reefing line and feed it up the starboard side of the sail to the uppermost cringle, close to the leech of the sail. Lace the line through this cringle and back down the port side of the sail. Lace the line into the next lower cringle and again into the next. After exiting from the lowest clew cringle the line will again be on the starboard side of the sail. Lead the tail end of the line (it should already have a small knot at the end) to the back of the boom, starboard side. As with the outhaul line, insert the end of the reefing line into the small slot at the back of the boom. Snug the knot into position so that it does not work free.
Now commence rigging the front reefing lines. Take the front end of the reefing line and feed it up the port side of the mainsail to the topmost reefing cringle. Lace through the lower cringles.
Reefing the Mainsail while afloat
It is essential to turn the bow of the boat into the wind with both Jib sheets and mainsheet slack. If the boat is not 'bow to wind' it will be difficult to lower or raise the mainsail. The bulk of this work is performed by the crew and the helm should concentrate on keeping the boat 'bow to wind' as far as possible. It will also be helpful if the helm can also lift the rear of the boom slightly to ease the first stages of reefing. Remove all gnav tension by uncleating the kicker line. Note that the front of the boom has a single steel pulley. This pulley doubles up as an Outhaul and Reefing block. Before reefing, lift the outhaul line out of the pulley block and replace it with the reefing line.Assuming that the reefing lines have been properly rigged, release the Main Halyard and lower the mainsail by a metre or so. Pull firmly on the reefing line coming from the front bottom of the boom. Due to the lacing of the rear reefing line, the lower leech of the mainsail will begin to concertina. When the slack has been taken out of the upper leech release the main halyard further and resume pulling on the reefing line. Repeat the actions of releasing the main halyard and pulling on the reefing line until the rear of the mainsail is fully concertinaed. At this stage continue to pull on the reefing line and the lower luff of the mainsail will begin to concertina. Lower the mainsail even further if necessary. Firm pulling is required until both backend and frontend are fully concertinaed.
It will now be possible to insert the reefing slug (previously ignored when raising the full sail) into the lower sectionof the mast track.
Finally tidy up the folds so that they lie neatly along the boom. Secure the middle section of sail using a looped bungee cord passed through the centre reefing eyelet. Re tension the mainhalyard to ensure that the luff of the mainsail is evenly stretched.
Masthead floats
Start by deciding whether a mast head float is to be used. When sailing in shallow water in windy conditions a masthead float has the advantage of slowing down the tendency of the boat to turn upside down but the major benefit of a larger float is to prevent damage to the mast and boat by the mast becoming embedded in soft mud etc.RS Sailing offer a fixed masthead float suitable for the Venture. This is bolted to the top of the mast and is regarded as a semi permanent fixture.
There are two types of removeable masthead floats suitable for the RS Venture. The first consists of 2 4ltr tubes coupled with tough canvas. This float type is used by inflating the tubes and inserting the tubes around the topmost section of the mast. It provides a relatively streamlined appearance and provides useful buoyancy. Fold the float tubes either side of the mainsail so that the upper fastening of the float is in line with the Head of the mainsail. Use a large bobble to fasten the main halyard through a float loop, mainsail head and then the remaining float loop. The main halyard will link together the float fastening tapes and the Head of the mainsail. This float will cause the boat to be reluctant to invert and will give time for a crew member to get on to the centreboard and hopefully prevent inversion, but it will not entirely prevent inversion.
The second type of float is a 40ltr inflatable balloon. It has a brass eyelet at its top end. After inflating the float use the main halyard to link together the Head of the mainsail and the float. As the mainsail is raised the float will also be hoisted. This 40ltr float will almost certainly prevent inversion if less aesthetically pleasing. Indeed in most conditions it is possible for a crew member to clamber up the inside of the boat to gain a foothold on the centreboard without the boat inverting - really useful if the crew is cold /tired or does not possess the arm strength to climb on to the centreboard. It is worth noting that both these floats, when rigged as above, will become slightly less effective if the mainsail is reefed (the floats are lower down the mast and therefore cannot exert the same righting force that exists when they are positioned at the top of the mast).