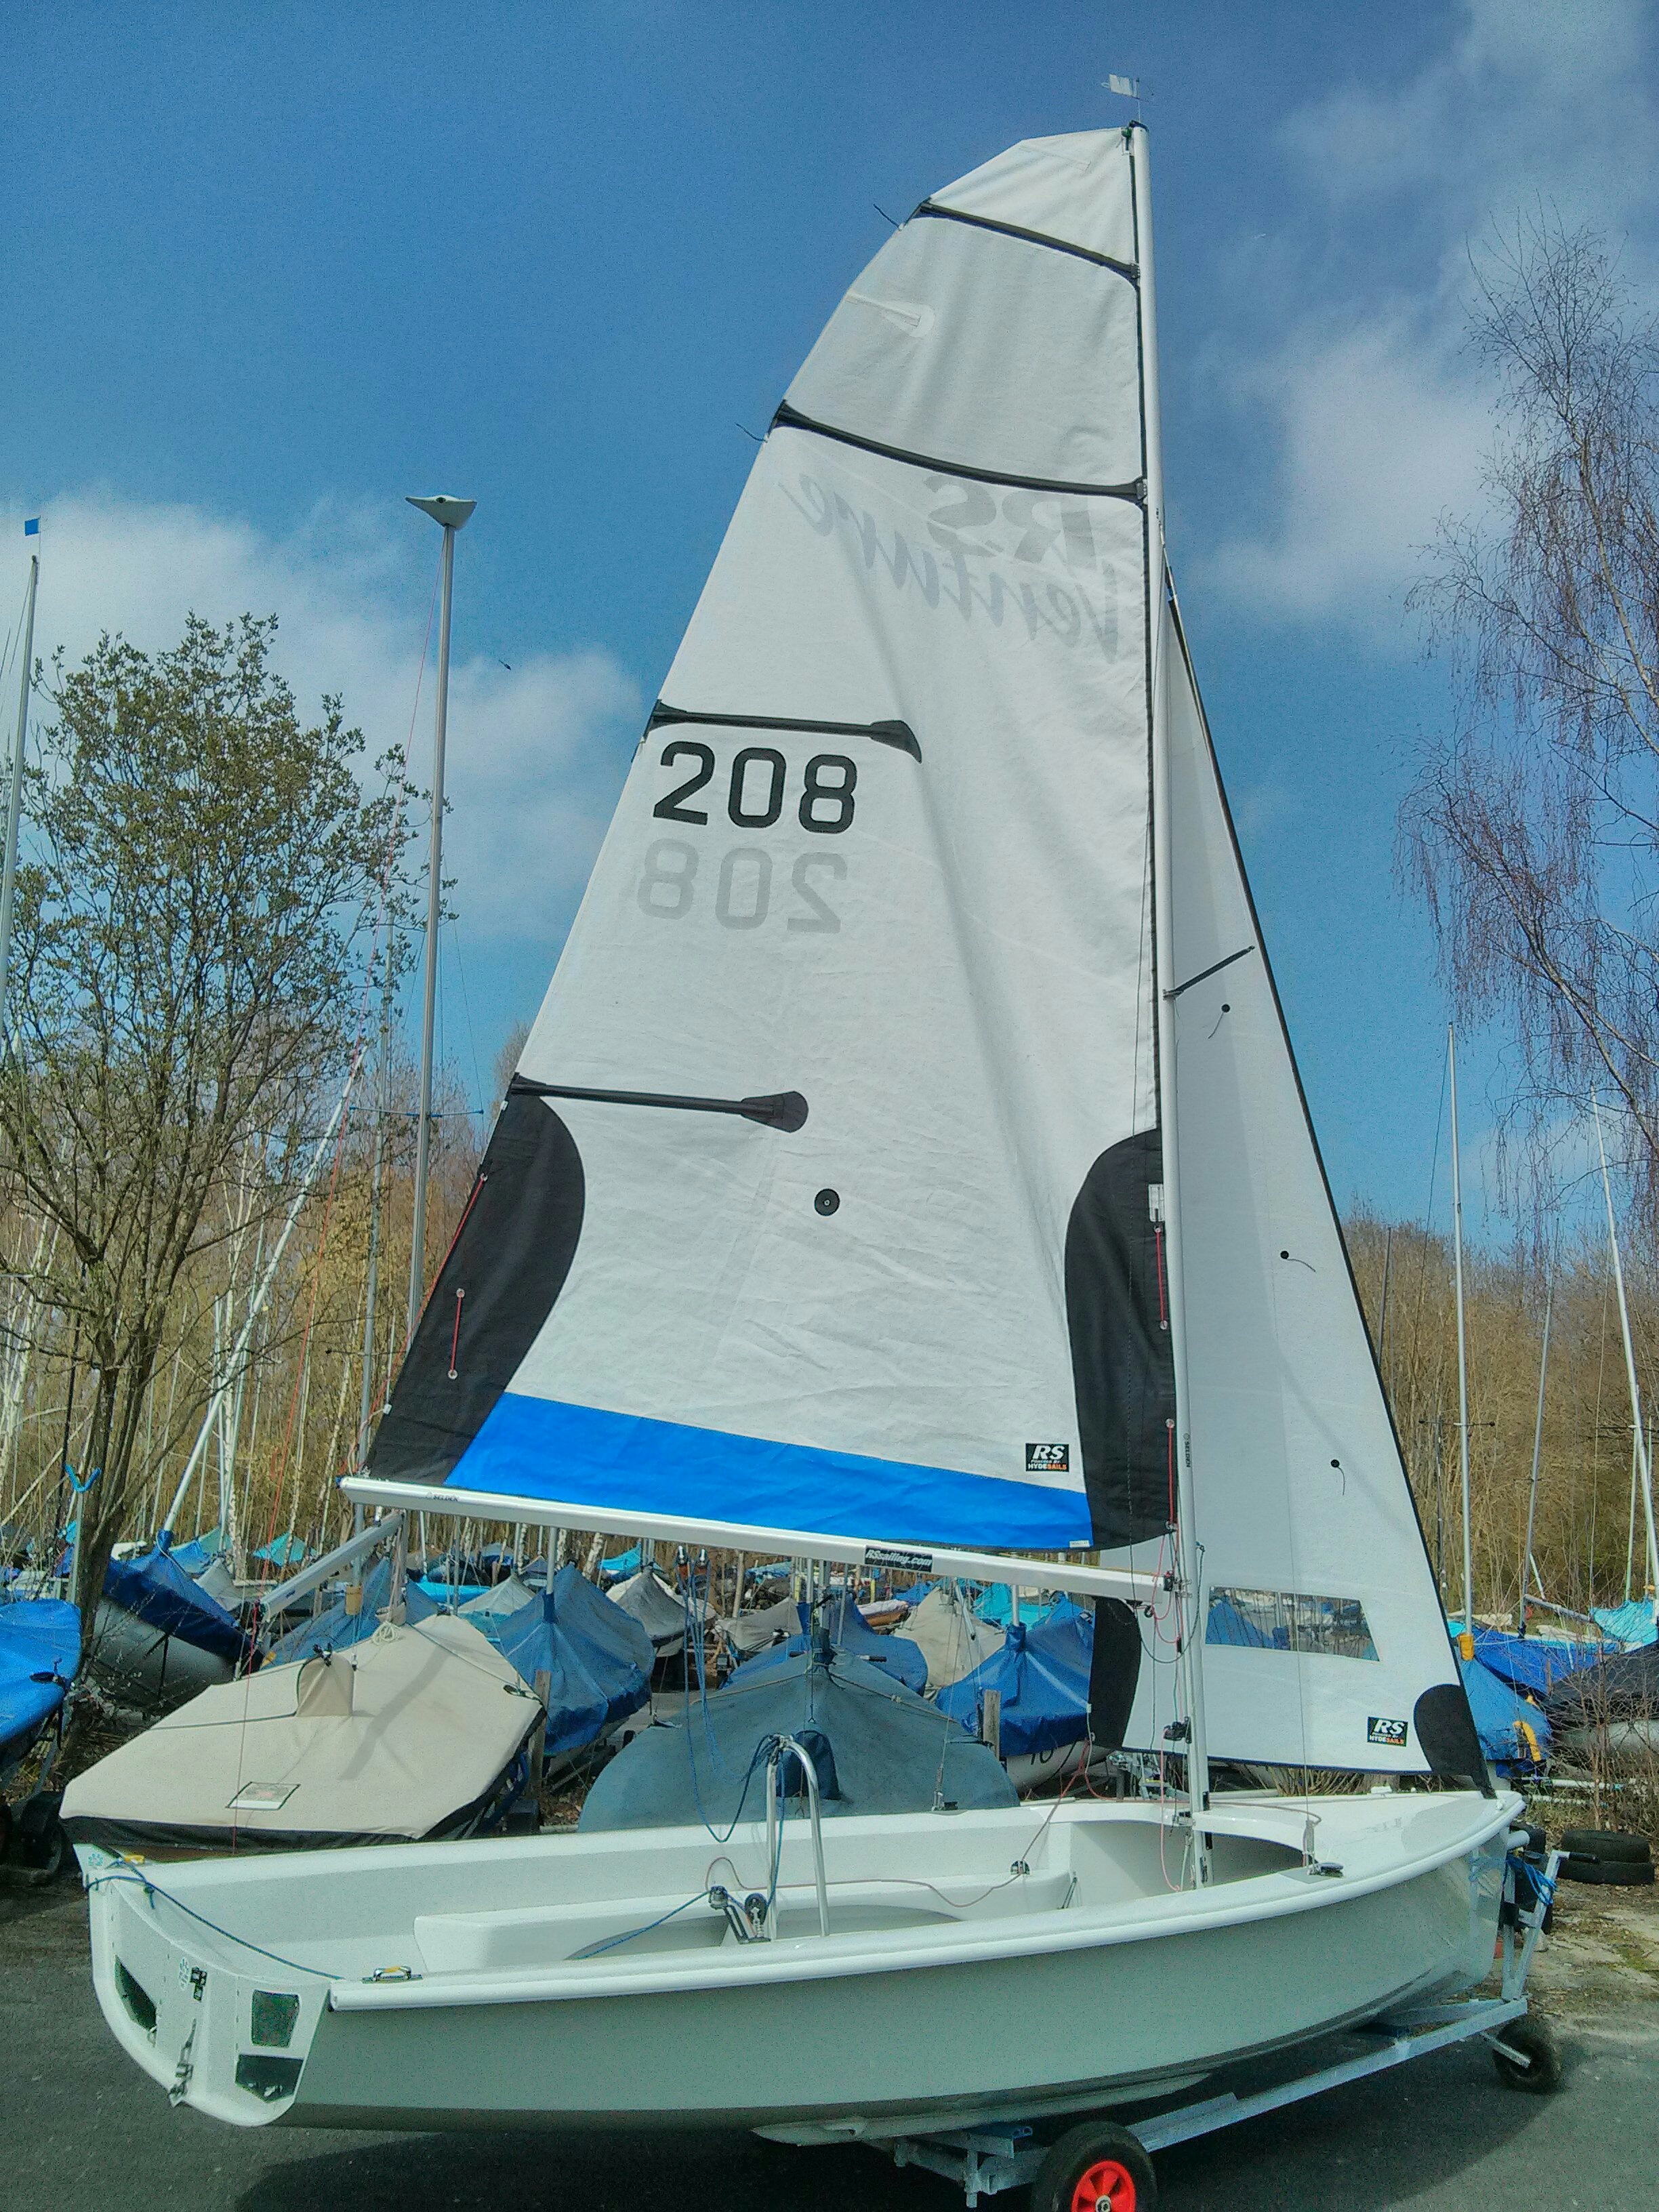
The RS Venture Gennaker Sail
Description of operation
The operation of the Venture gennaker is very similar indeed to that used on many dinghies. The gennaker system is based on a single line launch system that hoists the gennaker sail whilst at the same time sliding out the bowsprit pole. During retrieval the sail is pulled back into the chute by means of a patch sewn into the centre of the sail and as the sail enters the chute it drags the bowsprit pole back into the foredeck.
The sail is relatively large for a dinghy, 14m2. The retrieval line is fed up the sail via two stainless steel rings and is tied off to a canvas webbing patch.
The sail is controlled by the gennaker sheets passing through port and starboard automatic ratchet pulleys. The ratchet action of these pulleys operates only when the pull of the sail becomes strong. In light winds there is no ratchet action.
The gennaker sail is fastened to the boat at three points; the Head (the part that is hoisted near the top of the mast), the Tack (the part that is attached to the Tack line emerging from the front of the bowsprit pole) and the Clew (the part to which the gennaker control sheets are tied). These parts are clearly labelled to avoid confusion when rigging.
Rigging the Gennaker
The gennaker sail is constructed from very light material, beloved of mice. Never leave the gennaker sail stored in the boat but in a dry place inaccessible to mice. This section deals only with the rigging actions needed to fit the gennaker sail to the boat prior to sailing. Rigging the ‘Standing rigging’ , which includes the launch / retrieval line is dealt with in the section dealing with stepping the mast because the gennaker launch line is an integral part of the mast and is also linked to the bowsprit pole.
It is assumed that, at this stage, the Jib sail has already been rigged.
Place the gennaker sail on to the foredeck and find the cringle marked ‘Tack’. Put a loop into the Tack line protruding from the bowsprit pole and pass the loop through the sail cringle and then pass the bobble through the loop. Pull tight to snug the bobble into the cringle.
Run your fingers along the bottom edge of the sail until you encounter a steel ring. Holding the ring explore towards the centre of the sail until you encounter the second steel ring. Holding both these rings together search for the webbing patch sewn into the centre of the sail.
The retrieval end of the launch line can be found protruding from the mouth of the chute. It is good practice to tie the end to the furler unit when not being used. This prevents the end from disappearing down the chute!
Feed the retrieval line through the first and second rings and then through a small bobble. Finally tie the end to the webbing patch using a bowline knot with a generous loop. The purpose of the bobble is to prevent the bowline knot jamming in the steel rings on retrieval, causing problems when the gennaker is next launched.
Now find the end of the launch line dangling from the upper section of the mast (when not in use this end of the launch line is usually tied around one of the shrouds). Next find the cringle marked ‘Head’ and make a loop in the end of the launch line (this end should already have a large bobble attached) and then pass the bobble through the loop. Snug down the fastening so that the bobble sits against the cringle.
The final stage of rigging is to find the cringle marked ‘Clew’. Fold the gennaker control rope into two equal parts and pass the loop so formed through the Clew cringle. Pass the two ends of the control rope through the loop. Pull the ends through the loop and snug down, ensuring that the control lines are equal in length.
Now the tricky part – this is the point at which errors are made when rigging the gennaker. Take one end of a control rope and pass it under the line attached to the sail Head, take it around the front of the Jib sail towards the gennaker ratchet pulley. An arrow marked on the side of the pulley block indicates the direction in which the control line should be fed into the pulley. Tie a stopper knot on the end of this control line.
Return to the gennaker clew and take the remaining control line straight to the remaining gennaker ratchet. Observing the directional arrow pass the control line through the pulley and secure with a stopper knot.
It is important to test the correct rigging of the gennaker at this stage as usually once launched mistakes are very difficult to correct. Check that the bowsprit pole is free to move outwards without striking any obstructions. Turn the boat stern to wind and pull on the launch line (the section of line on the starboard side of the centreboard casing). The gennaker sail should move smoothly to the upper section of the mast – make sure the sail is not fouled by the trolley handles etc – take a control line and pull it to the side of the boat. The sail should inflate with all attached line hanging free. If all is well take the other control line and pull that to the other side of the boat. The webbing patch will appear on the opposite side of the sail and once again all lines should be free.
Pull on the retrieval line (the section of the line on the port side of the centreboard casing). Note that the retrieval line should be grasped at a point to the rear of the pulley. Do Not pull on the retrieval line as it comes from the tail of the chute as this will rapidly damage the chute and the sail will not be pulled evenly down the chute. Continue pulling until the nose of the sail appears from the end of the chute tail. As the sail is being retrieved take care not to snag the sail on the trolley or trailer. Cease pulling and investigate if there is resistance as the sail is pulled in.
When the gennaker sail has been satisfactorily rigged you may wish to tie the ends of the gennaker control lines together. This is a matter of preference but it does assist the crew when gybing. Use a double fishermens bend knot to join the rope ends. This knot is very secure and unlike a reef knot will not work loose.
Flying the Gennaker
If you have experience of flying a gennaker on any other boat you will have no difficulty with the Venture. If you are new to using a gennaker then this section is for you…. first choose the right weather before you start! When learning, ideally the wind should be around 10 knots and not much more and the forecast should suggest a steady direction with only light gusts.
Launching - Launch the boat and sail upwind to a point that offers a good long uninterrupted downwind run. Turn downwind with the wind coming over a stern quarter. When the boat is settled stand or stoop over the launch line and give a good long pull straightening up as you do so to increase the length of the pull.
Ideally you will have marked the launch line with a marker pen so that the marked section of rope appears at the cleat as the gennaker reaches the top of the mast. When the mark appears cleat the line and grasp the gennaker control line on the side matching the jib and mainsail position. Without such a mark it might be necessary to peer up at the mast to check that the gennaker had reached the top of its travel, delaying the point at which the gennaker is applying power to the boat.
After the hoist, give a firm pull, almost a gentle flick on the control line to inflate the gennaker. Keep your eyes on the leading edge of the gennaker. Easing (releasing) the control line gently will allow the gennaker to sit in the wind and boat speed will increase. Get ready as necessary to get on to the side to balance the boat, as far as possible aim to keep the boat flat in the water.
If the gennaker is eased too far the leading edge of the sail will begin to curl and eventually the sail will collapse and flap. Avoid this by gently pulling in on the control line. Ideally there should be a firm curl on the leading edge of the sail but no more. Keeping the sail too tight will allow the wind to escape the sail and the boat will sail less efficiently.
In practice sailing the gennaker requires much concentration and a ‘feel’ for the sail. With experience you will sense small changes in wind direction and adjust the gennaker accordingly.
Gybing - Gybing the gennaker is a very different ballgame! It is essential that helm and crew work together if a capsize is to be avoided (in the Venture in 10 knot or less wind this is unlikely so give it a go).
The helm should call ’Standby to gybe’. The crew should grasp what will become the new control line AND the new Jib sheet in one hand and be poised to release the current jib sheet from its cleat, then call ‘Ready’ and wait. As the helm responds ‘Gybe Oh’ release the current jib sheet from the cleat and make a strong long pull on the combined gennaker and new jib sheet. As the pull reaches its limit use the now free hand to grasp the new gennaker control line and give that a final long pull, you will probably need to use your body as well as arms to gain a nice long pull. It is essential that this manoeuvre is done as fast as possible to avoid the gennaker sail from wrapping on the jib wire or ‘wineglassing’ as it changes sides. This advice applies whether cruising or racing.
As this manoeuvre is completed you may need to jump on the side to balance the boat as the boom swings over. Helm can help in this respect by pulling on the falls to initiate the gybe at an earlier stage as the boat turns, this action reduces the angle that the boat needs to turn through before the boom swings over and lessens the chance of a capsize.
Pull in on the new control line as quickly as possible to inflate the sail. Ideally use a controlled flick and ease on the control line that will hopefully both inflate the sail on the new side and allow it to pick up the wind more quickly. These actions are essential when racing but when cruising may be done in a more relaxed vein but…. Speed is always desirable as the helm calls ‘Gybe Oh’ simply to avoid wraps and tangles.
Retrieval – The helm should turn the boat almost but not quite dead down wind. Attempting to retrieve the gennaker in anything of a cross wind may result in the gennaker sail falling to one side of the boat, landing in the water and getting swept underneath the boat. Apart from the risk of damage to an expensive sail retrieving the sail from beneath the boat is difficult and time consuming and may require the crew crawling out on the deck to scoop the sail from the water.
With the boat close to a training run the crew should stand or stoop over the line, grasp the launch line close to the cleat with one hand and close to the retrieval block with the other. As soon as the cleat is released commence long strong and rapid pulls on the retrieval line. Done properly the sail will be in the chute before it has hit the water! and helm will be free to tack around as needed.